

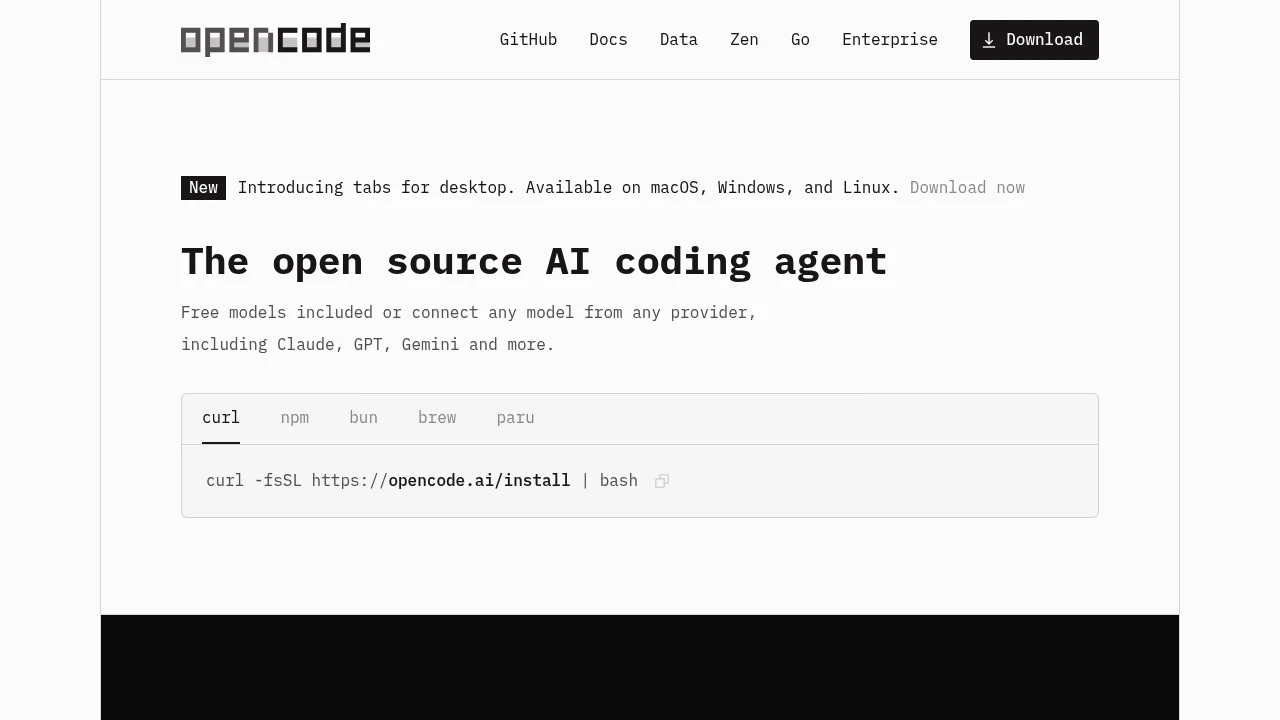
OpenCode is an open-source coding assistant that can read a project, propose changes and run permitted tools. This guide targets OpenCode 2, whose installation packages and configuration differ from OpenCode 1. It follows current official documentation checked on 13 October 2026. The first task is deliberately small: explain one file and then improve a short piece of documentation. The commands are instructions for your own setup; AltStack has not executed the installers or claimed that an agent-produced change is automatically correct.
1. Check the software version and the real costs
OpenCode's source repository uses the MIT license, and the coding assistant itself does not require an OpenCode subscription. The model is a separate service or a local installation. Connecting a paid API, subscription-backed account or hosted model can incur charges even though the assistant is free software. A downloaded local model uses your hardware and may have its own license.
The current optional OpenCode Go service lists US$10 per month and Go Plus US$40 per month, with different usage limits. OpenCode Console also offers model-specific pay-as-you-go pricing and some limited-time free models. Check the current table, privacy conditions and any automatic reload setting before entering billing details. Do not treat a promotional free model as permanent unlimited access. This walkthrough can use a local Ollama model or a provider you already authorize.
2. Install OpenCode 2 without mixing it with version 1
Both versions use the command name opencode. The official migration guide says to remove a package-managed V1 installation before installing V2; they do not coexist under their default command. Back up your existing configuration first if you already use OpenCode. V1 plugins and server integrations require migration, so do not upgrade an important workflow without checking that guide.
For macOS or Linux with Homebrew already installed, the V2 documentation gives brew install anomalyco/tap/opencode-v2. With npm, its V2 package is installed using npm install -g @opencode/cli. Choose one method. Windows package managers are currently unsupported for V2: use the official standalone CLI download matching Windows x64 or ARM64. Follow the download instructions to make that binary available in your terminal. Check opencode --version before continuing; the older opencode-ai package belongs to V1.
3. Use a small project you can inspect
Choose a project you own and understand. For a first session, a copy or a Git branch is easier to review than your only working copy. Keep credentials and unrelated customer data outside the practice project. Read its README yourself and identify the file you want to improve. A documentation-only change avoids the extra risk of deploying new behavior while learning the interface.
Open a terminal in that folder and run opencode. The V2 CLI opens its terminal interface and normally discovers or starts a shared background server for your user account. You can pass a directory explicitly, but the active folder should be the project you mean to work on. Check the project context before submitting your first request. Do not start the session from your whole home folder simply to make every file accessible.
4. Choose a provider or a local model
Inside the terminal interface, enter /connect for available provider connections. Select your provider and its supported authentication method, then follow the prompts. Enter an API key only in the credential prompt, never as part of a chat message or project file. After connection, enter /models and select a model you are allowed to use. Provider access and billing remain separate from installing OpenCode.
For a local route, first make an ordinary chat work in Ollama. The V2 provider guide says OpenCode probes Ollama at http://127.0.0.1:11434 and discovers compatible completion models without an account connection. Keep Ollama running, then select an available local model in /models. A model appearing in the list is not proof of good coding or tool-call performance; start with explanation and a small edit before attempting a complex task.
5. Set permissions before giving the agent a task
Review the project's OpenCode settings and any inherited configuration. V2 uses an ordered permissions array, with action, resource and effect fields; the last matching rule wins. The provider documents ask, allow and deny effects. Its defaults allow many operations, so a beginner should not assume every file change or command will ask for confirmation.
For the practice project, add explicit ask rules for edit and shell actions in opencode.jsonc, and deny a shell rule matching git push *. The current documentation gives the exact V2 syntax; preserve existing unrelated settings. A prompt saying do not deploy is useful task context, but it is not a replacement for permission configuration. Review requested shell commands before approval, especially installations or operations that affect files outside the intended project.
6. Ask for an explanation before editing
Type @ and search for the file you want the model to read. Select it, then ask: Explain what this file does in plain words. Identify the parts that a new contributor must understand. Do not edit files or run commands. Press Enter to send. The V2 interface supports file references and can include a line or range when you need a narrower explanation.
Read the response alongside the actual file. If the explanation assumes behavior that is not present, ask for the exact supporting lines. This first pass establishes whether the model can work with your project. Keep questions small: one component, script or README section is easier to verify than a request to describe every feature. A plausible explanation still needs your review.
7. Make one clear change and inspect the result
Use a concrete request, such as: Improve the setup section of this README. Keep every existing command unchanged. Explain what each command does in one sentence. Change only that section. First describe your proposed wording, then wait for my approval. After reviewing the proposal, authorize that exact edit. This is an example workflow, not an automatic approval guarantee.
When the task finishes, inspect the file yourself and run git diff in your own terminal if the project uses Git. Check that only the requested section changed and that commands were preserved. Ask the agent to explain unexpected differences before accepting them. For a code change, use the project's documented checks and inspect their actual output; an agent saying tests pass is insufficient without the results.
8. Save the change and export your session
Keep useful changes as normal project files and, after review, commit them through your own Git workflow. OpenCode's snapshots are a convenience for revising recent work, not a substitute for durable version control. Note the selected provider and model when you compare results across sessions.
To export a V2 conversation, use opencode session list to find the actual session ID. Then run opencode session export SESSION_ID, replacing SESSION_ID with that ID. The documented --sanitize option redacts sensitive transcript and file data; you can direct output to a chosen JSON file with your shell if you understand its redirection syntax. Inspect an export before sharing it. V2's sharing page currently says session sharing is unsupported, so this guide does not tell you to generate a public /share link.
9. Use undo carefully and keep external effects separate
V2 documents /undo for staging a rollback of a recent conversation and its captured file changes. It restores the previous prompt for revision. Before you submit that revised prompt, /redo can cancel the staged rollback. Check the restored files and git diff before continuing. Back up important uncommitted work first, because restoring a file can overwrite newer edits to the affected path.
Snapshots are best effort and cover eligible files in the active directory inside a Git worktree. They do not roll back deployed services, database changes, processes, Git branches or every ignored file. If a command affected something outside that scope, investigate that effect separately. Undo is useful for revising a small local change; it cannot guarantee recovery from arbitrary actions you allowed the agent to execute.
10. Diagnose connection, model and service errors
If no model is available, finish the provider setup and choose a model again in /models. For local Ollama, confirm that a model is downloaded and the service is running before altering OpenCode configuration. For a cloud error, check the active account, model entitlement and billing state. Repeatedly submitting the same request may consume more paid usage without fixing the cause.
V2's troubleshooting guide starts with opencode service status and opencode api get /api/info. If the shared service is unhealthy, opencode service restart is documented. Record the version, smallest reproduction steps and relevant error. Do not delete the service files or database as a first repair. Remove keys, authorization headers, private prompts and file contents from diagnostics before sharing them publicly.
11. Evaluate the workflow before expanding access
Try several small tasks and track the time spent correcting output as well as the time saved. Check whether the model respects file scope, preserves behavior and explains its changes clearly. Review usage through your provider's actual billing page; OpenCode's documented stats --cost command can supply additional local usage detail but does not replace an invoice.
Keep model costs, subscription limits and code confidentiality visible when comparing this setup with a paid coding assistant. Cloud models receive the prompt and code context required for the request. Local inference keeps model computation on your machine, while external tools and connectors can still use the network. Add integrations only when you understand their access. A good first outcome is a reviewed change, a saved diff and a repeatable process for deciding what the agent may do next.
Official instructions and sources
OpenCode 2 installationOpenCode 1 to 2 migrationOpenCode 2 terminal startupOpenCode 2 terminal interfaceOpenCode 2 provider authenticationOpenCode 2 providers and local Ollama discoveryOpenCode 2 permissionsOpenCode 2 session export and cost commandsOpenCode 2 snapshots and undo limitationsOpenCode 2 sharing statusOpenCode 2 troubleshootingOpenCode Go current pricing and limitsOpenCode Console model pricingOpenCode MIT licenseOriginal AltStack guide by Sushil Kumar Sah. Installation steps follow provider documentation; they do not imply testing on every supported device.